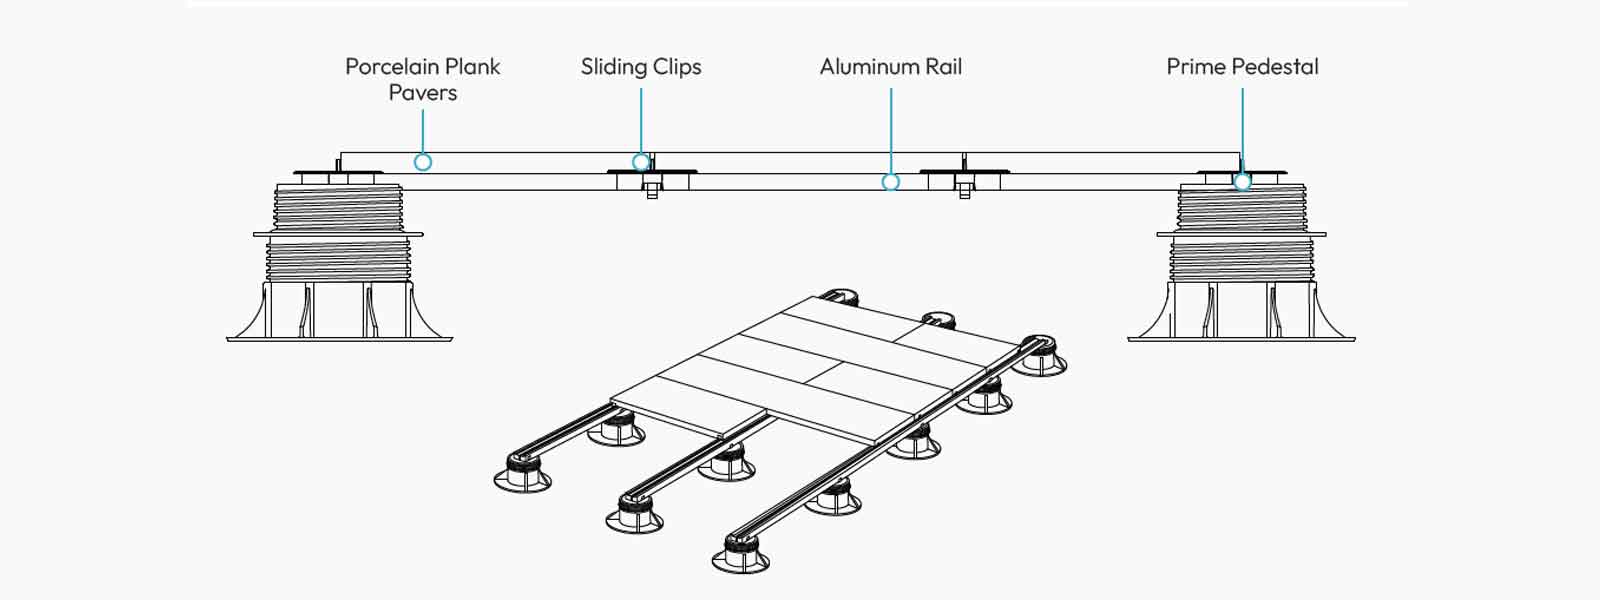
A pedestal supported rail system is typically used when building an elevated deck on a rooftop or balcony with porcelain pavers less than 16” wide. It provides the best paver support, most efficient use of pedestals and easier paver levelling.
The aluminum rails are clipped onto specially designed pedestal heads. A rubber strip is run along the top surface of the rails to minimize noise transmission. Porcelain planks are then laid over the rails, separated by spacer tabs slid along a channel in the rails.
1
Step One
Ensure the substrate is smooth and even across the complete surface and constructed with a minimum 2% slope to drainage points.
2
Step Two
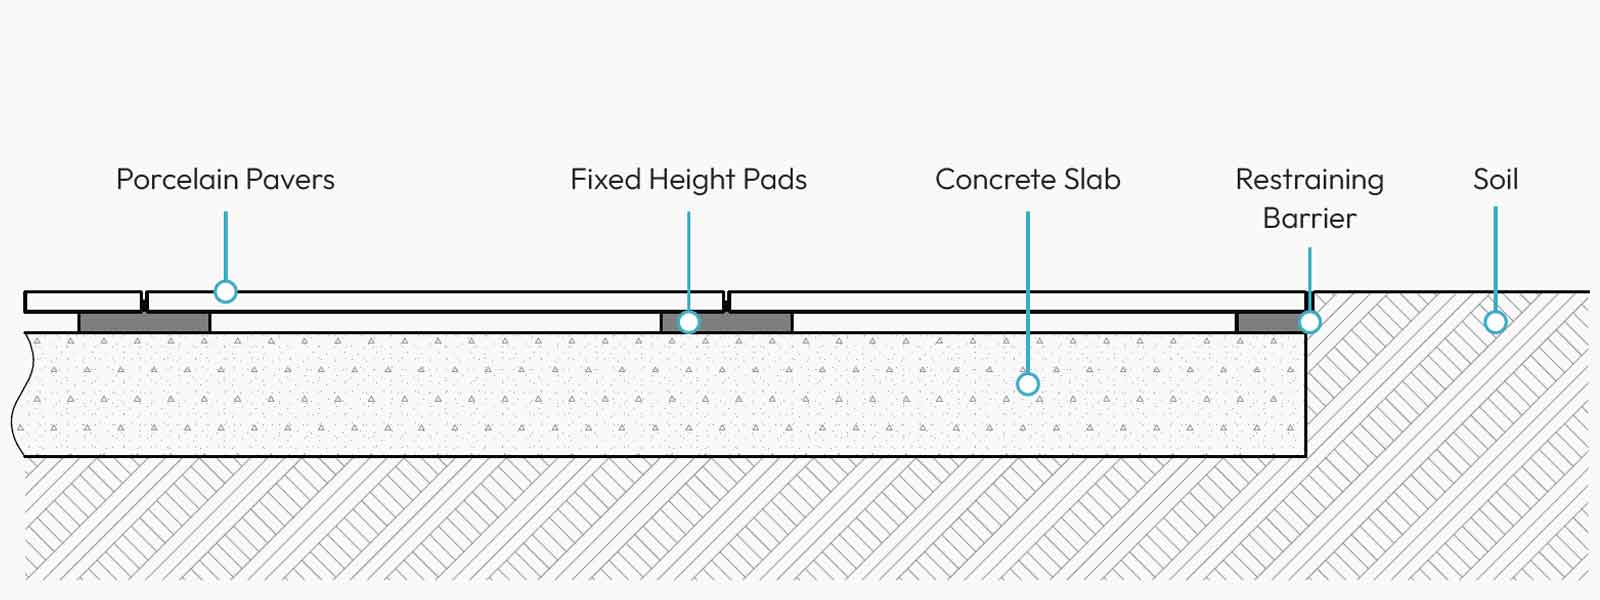
The paved area should be bounded fully by a containment barrier or other restraining device to ensure the pavers cannot move.
3
Step Three
Lay out pedestals in an array with spacing in both directions determined by the width of pavers to be used and the expected traffic loading. (contact Archatrak support for further details)
4
Step Four
Lay the first rail onto the head of the pedestal at each end of the rail, pushing it down firmly to securely clip the rail to the head. Check for level.
5
Step Five
Clip the remaining pedestals situated under the rail onto the heads, adjusting the pedestal heights to ensure they sit tightly on the substrate and that the entire rail assembly is stable.
6
Step Six
Add extra lengths of rail as required to the end of the first rail using the special plastic connectors.
7
Step Seven
Lay the remaining rails in the same manner and parallel to the first row, checking constantly for level across the parallel rails.
8
Step Eight
Lay the porcelain planks over the rails using sliding spacer tabs to correctly space the planks.
Last Update