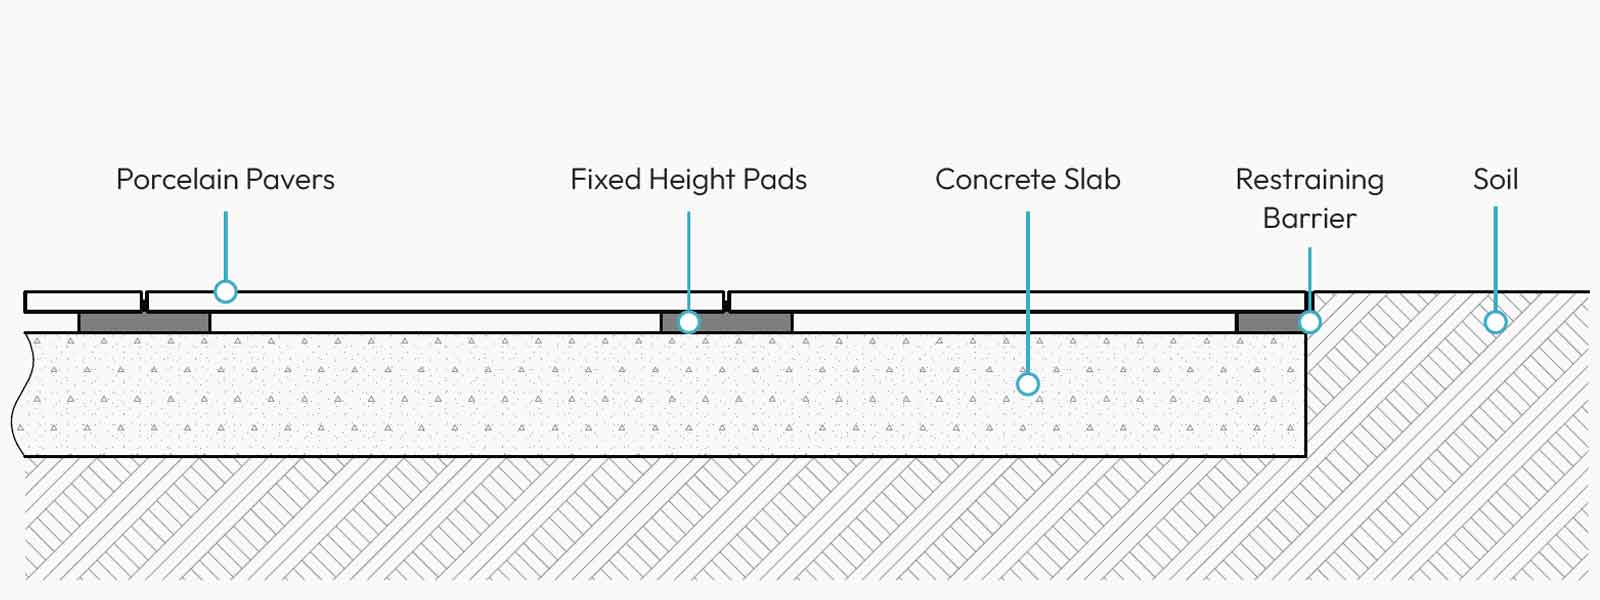
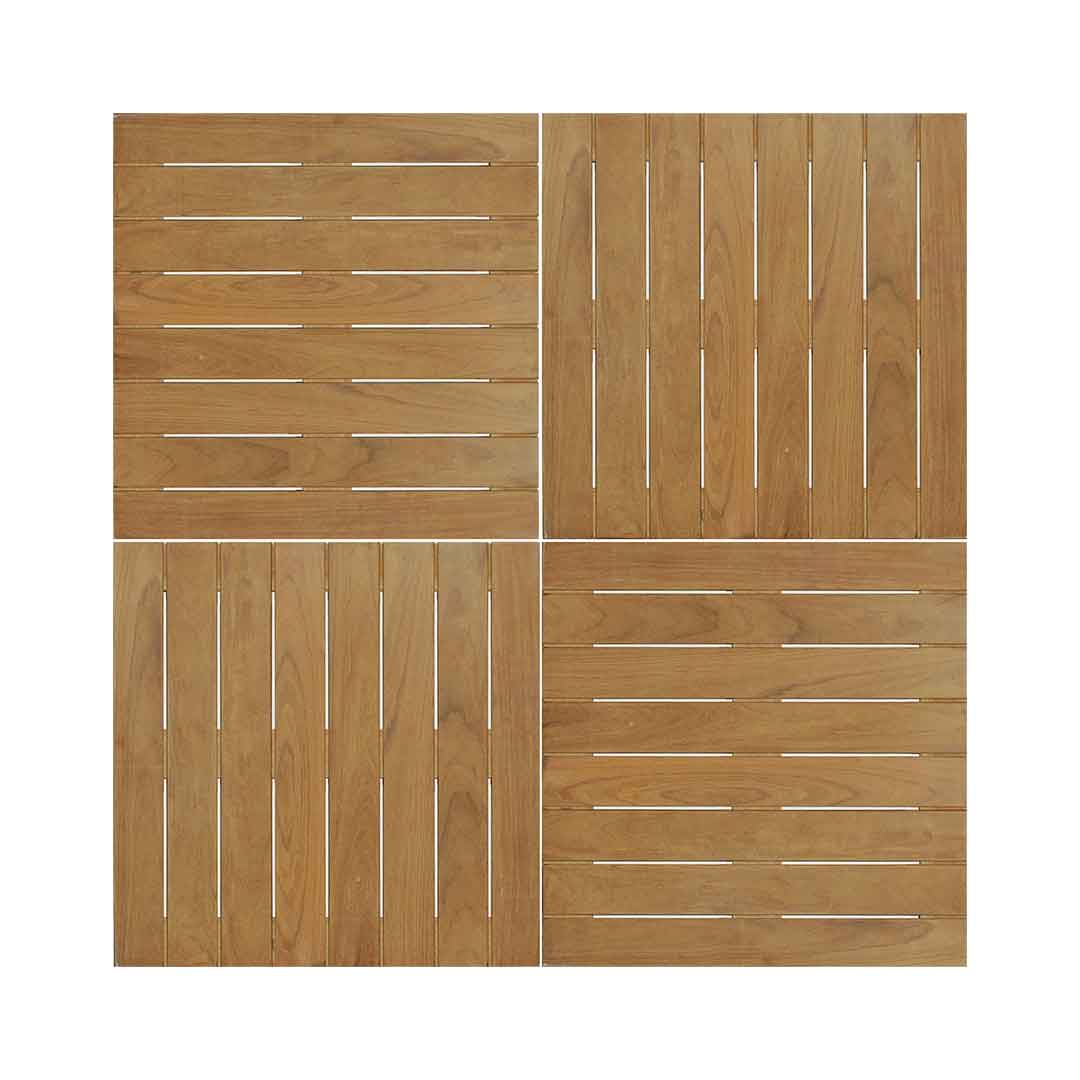
Rooftop elevated wood decks constructed with structural wood tiles laid over adjustable height pedestals can be installed much easier and quicker than decks constructed with straight run deck planks laid over wood joists. Installation using pedestal supports greatly simplifies installation and overcomes any issue where no ‘permanent’ structures are permitted or concerns that materials used might damage waterproof membranes.
Installing structural wood tiles is very similar to installing porcelain pavers on a pedestal system as described here. The primary difference is that Archatrak Ipe wood tiles are supplied with a slot cut in each corner to accommodate a special screw and washer component. The screw is invisibly screwed into the pedestal head with the washer “locks down” the tiles onto the pedestal, ensuring a safe, secure and level surface.
Wind Uplift Considerations

The potential for wind uplift of any Ipe deck tile installation using a pedestal system should always be considered, especially in regions subject to hurricanes, tornados and strong wind gusts. Hence our structural wood tiles are produced with a slot in each corner to accept a special washer and screw hold-down device. This integrated screw and washer assembly secures the wood tiles to the ‘Prime’ pedestals without being visible from the deck surface or penetrating or damaging the wood.
General Considerations when Installing Structural Wood Tiles
If any wood tiles need to be cut, it is very important that the structural integrity of the tiles is maintained. This may require relocating one (or two) of the support battens and re-attaching these to the slats from the underside of the tile. It may also be necessary to drill and countersink additional holes when re-inserting screws.
It is also important that an adequate number of pedestals are used around the perimeter of the paved area, and that the tiles are restrained around the perimeter by a low wall or some other restraining structure to prevent the tiles from moving.
1
Step One
Place a Premier or NM adjustable-height pedestal under two adjacent pavers and level the pavers using the adjustment tool.
2
Step Two
Move the pedestal slightly towards you and insert the fastening screw into the hole in the center of the pedestal head.
3
Step Three
Using a Pozidriv #2 bit (not a Philips bit) turn the screw until the washer is level with the slot cut in the tiles.
4
Step Four
Push the pedestal back towards the tiles so the tabs on the head butt firmly against the tiles and the washer engages the slots.
5
Step Five
Install the other two tiles on the pedestal head, then tighten the screw with the screwdriver to secure the corners of all four tiles.
6
NOTE
Be aware that although the height adjustment tool which is designed to be inserted top down into the pedestal head, cannot be used to adjust the height of the pedestal after the screw has been inserted. You can still adjust the pedestal height if required by turning the pedestal base.
Last Update