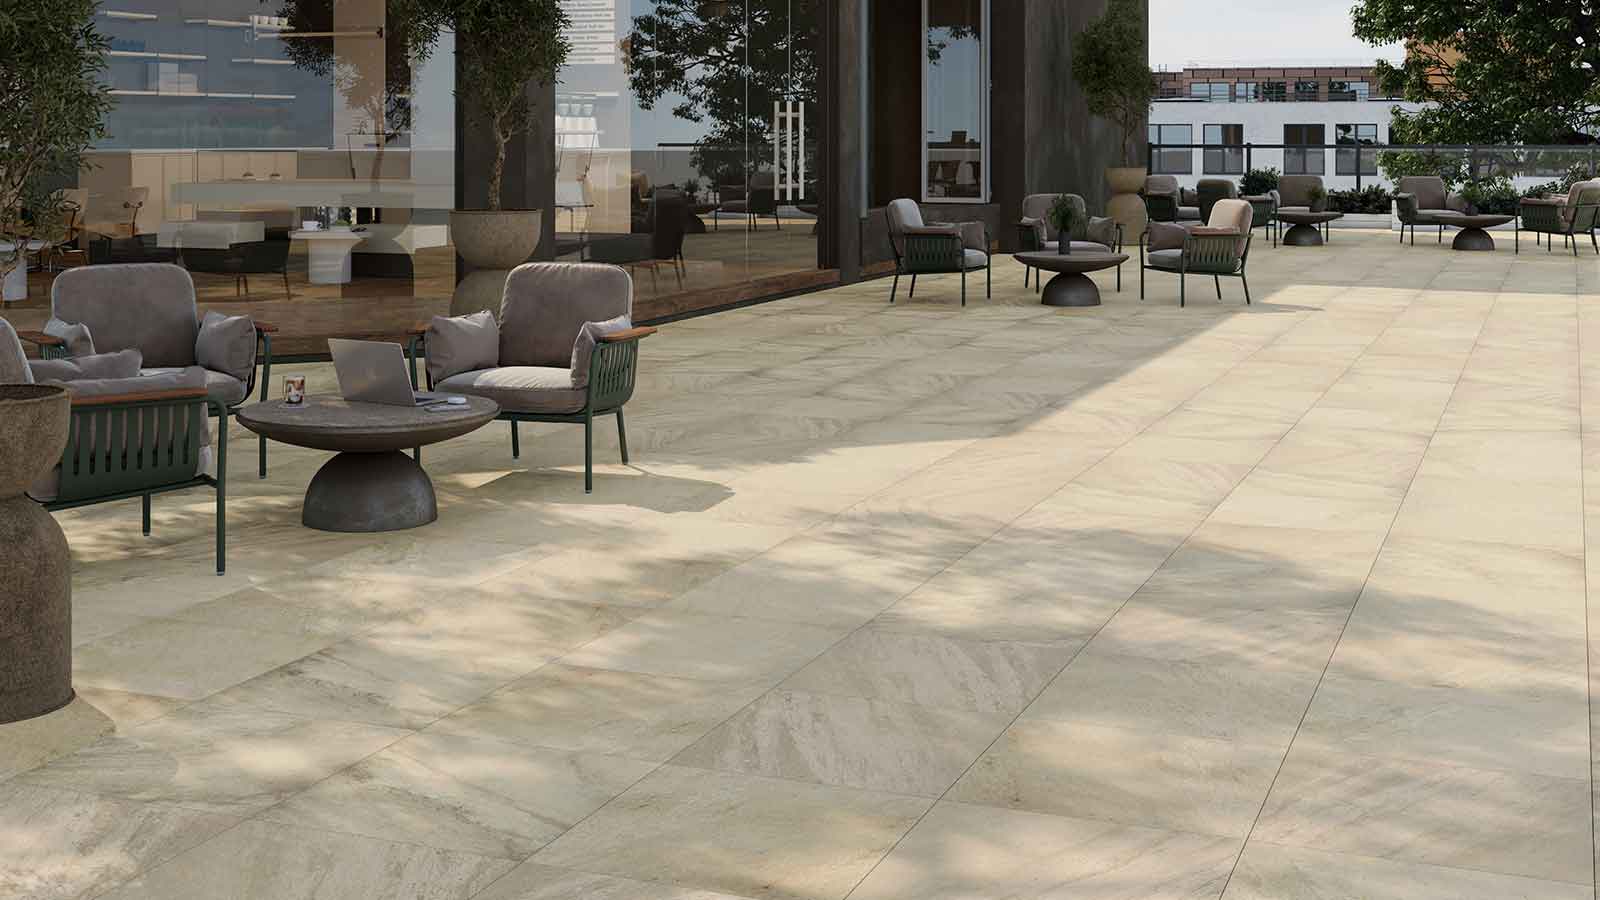
Installing porcelain pavers or Ipe wood deck tiles on a pedestal paver system is an efficient method for constructing elevated rooftop decks, balconies, and terrace applications. These systems are widely used in both commercial and residential projects where a durable, low-maintenance deck surface is required.
Adjustable pedestal systems create a stable, level surface over sloped substrates, allowing for proper drainage while protecting underlying waterproofing membranes. This approach eliminates the need for traditional substructures and simplifies installation over concrete, roof membranes, and other structural surfaces.
This guide outlines the key requirements and step-by-step process for installing porcelain pavers and wood deck tiles on pedestal systems, helping ensure a safe, code-compliant, and long-lasting deck assembly.
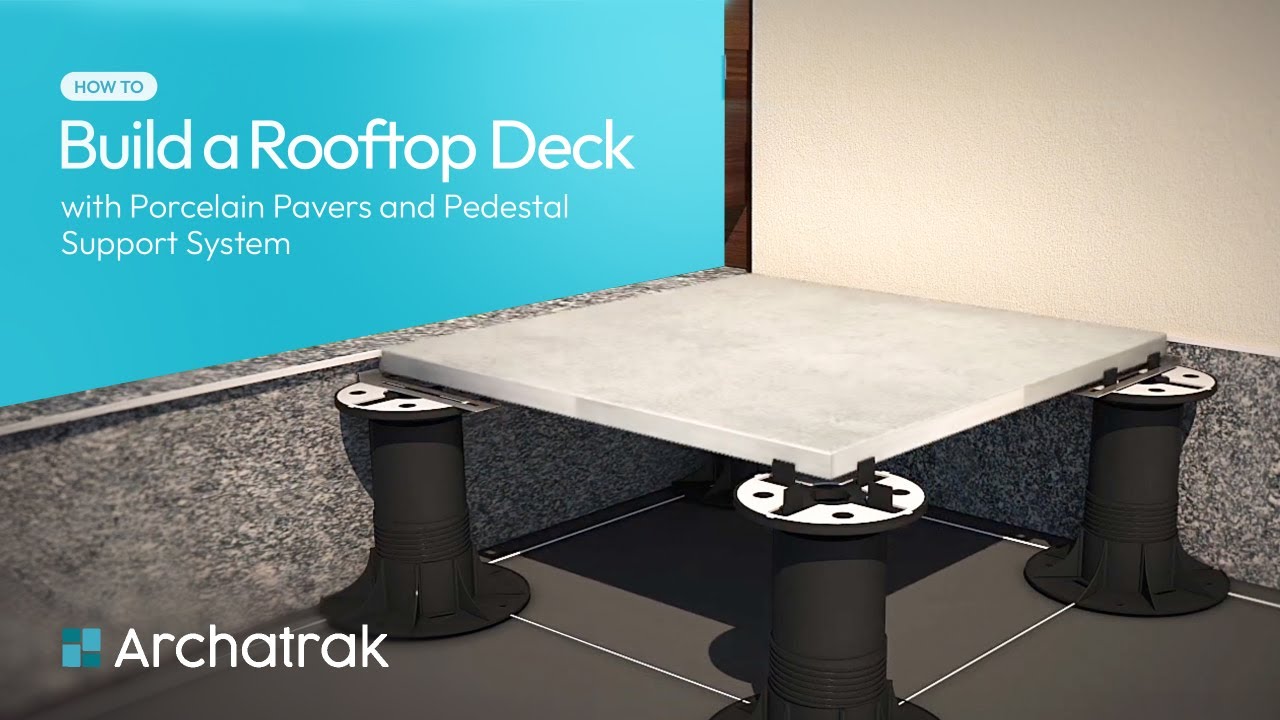
With any roof deck pedestal system, the following requirements must be met:
- The roof deck must not exceed the load capacity of the pedestals.
- The substrate should slope slightly to give positive drainage
- Roof decks must comply with all local building codes including fire regulations and wind uplift.
- Any area not bounded by a parapet or wall must be ‘boxed-in’ so the pavers cannot move.
- Any gaps around the perimeter must not exceed 1/8”. We recommend using spring clips for perimeter walls which prevent both the outer row of pavers from shifting after installation and maintain a 1/8″-1/4″ gap between the parapet wall and paver edge.
- In the event the pedestals are placed directly on foam insulation, or foam insulation with only a membrane covering it, the foam insulation should have a compression strength of 60 PSI or greater.
- For deck heights greater than 4”, especially in high traffic commercial applications such as bars and restaurants, steel protection plates or self-adhesive protection sheets should be installed on the underside of the pavers to avoid possible injury should any paver break due to hard objects being accidentally dropped from a significant height.
1
Step One
Ensure the substrate is smooth and even across the surface and constructed with a minimum 2% slope to drainage points.
2
Step Two
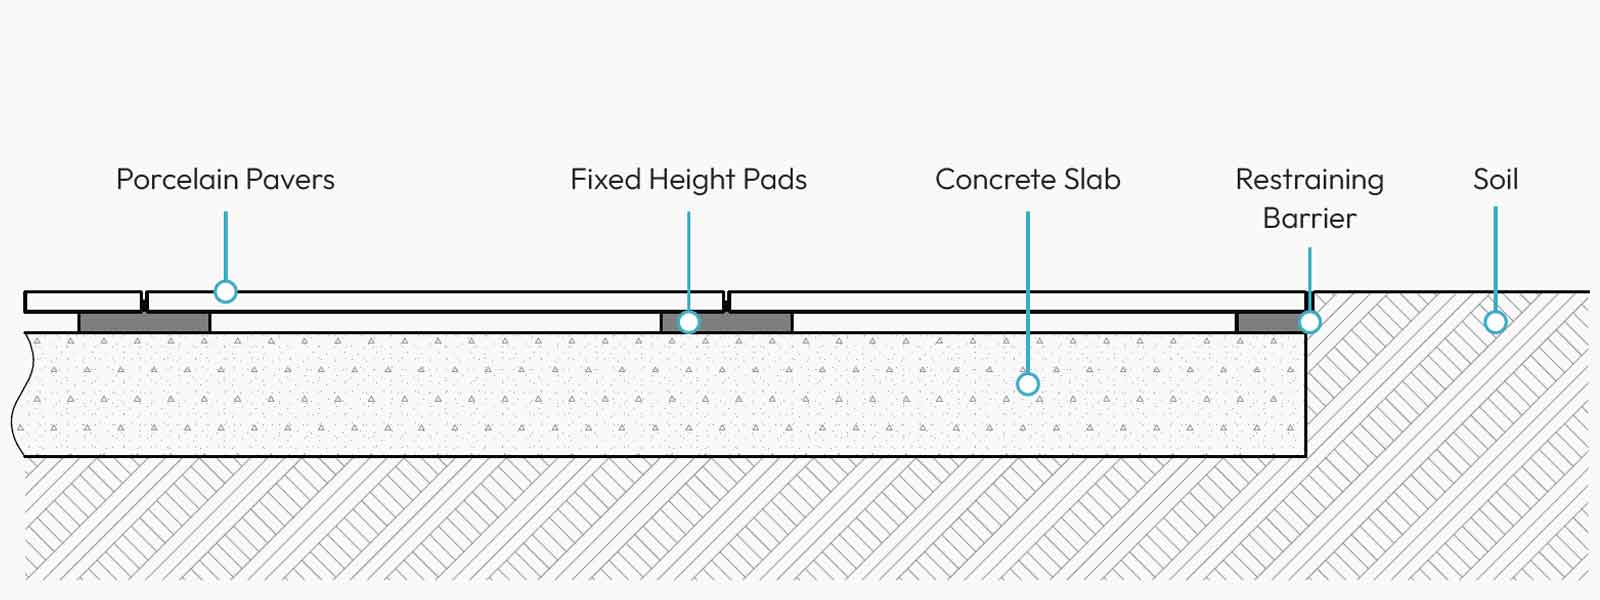
The paved area should be bounded fully by a containment barrier or other restraining device to ensure the pavers cannot move.
3
Step Three
Use sight or laser lines to mark the intersections of the corners of each paver to be laid.
4
Step Four
Draw the layout of the pedestals on the concrete using chalk and optimize the placement of the pavers to avoid cuts which would leave sections less than 8” wide. With 24” x 24” pavers, one pedestal is situated at each intersection of 4 pavers in the body of the deck and at where adjacent pavers meet around the perimeter. Depending on the proposed application, an additional pedestal may be required under the center of each paver, in which case, all spacer tabs should be snapped or cut off from the pedestal head.
5
Step Five
Archatrak Prime pedestals feature self-adjusting heads which automatically compensate for slopes up to 5%. If non self levelling pedestals are used, slope correction rings or other add in slope compensators will need to be used to ensure the pavers are level with the pedestal heads.
6
Step Six
Position the first pedestal in one corner of the area and place subsequent pedestals along a wall edge, spaced according to the width of the pavers to be used. With Archatrak Prime pedestals, place the cut side of the base against the wall. Other pedestals without a pre-cut base will need the bases trimmed to ensure the pedestals are situated as close as possible to the wall. Snap off tabs on the heads as required.
7
Step Seven
Place a second row of pedestals parallel to the first and separated from the first row by the width of the pavers.
8
Step Eight
Place the pavers with each corner resting on the top of each pedestal.
9
Step Nine
Screw the head component up or down to ensure each paver is level. The surface should be checked for level as each row of pavers is laid.
10
Note
If necessary, install quadrants of rubber shims between the pavers and the head to correct the height of any paver and to prevent any rocking.
Last Update