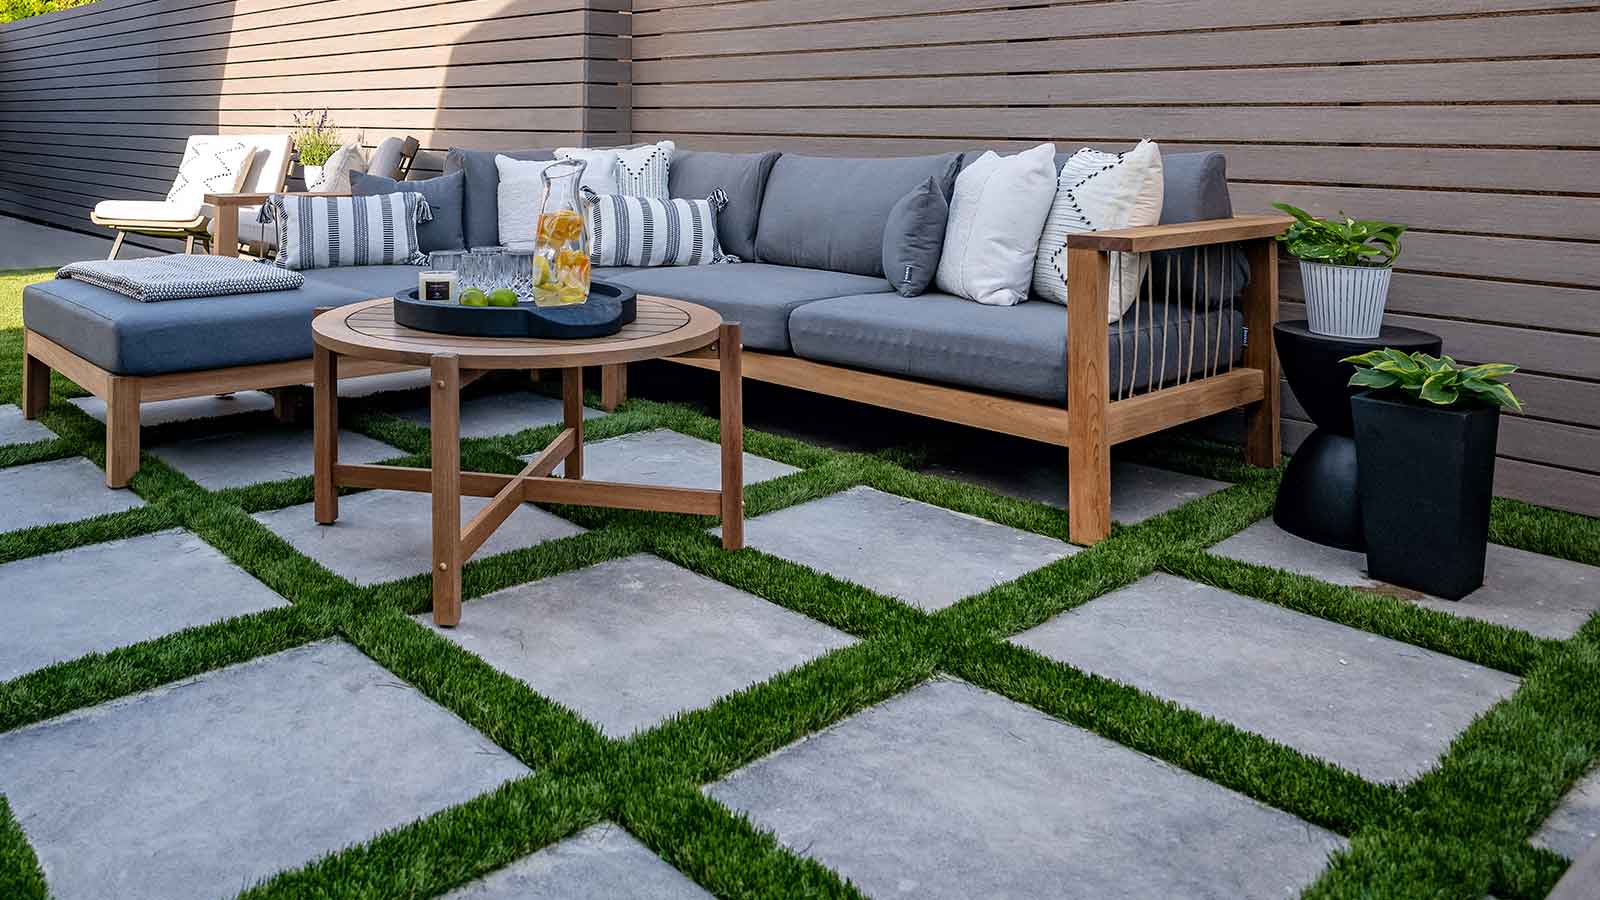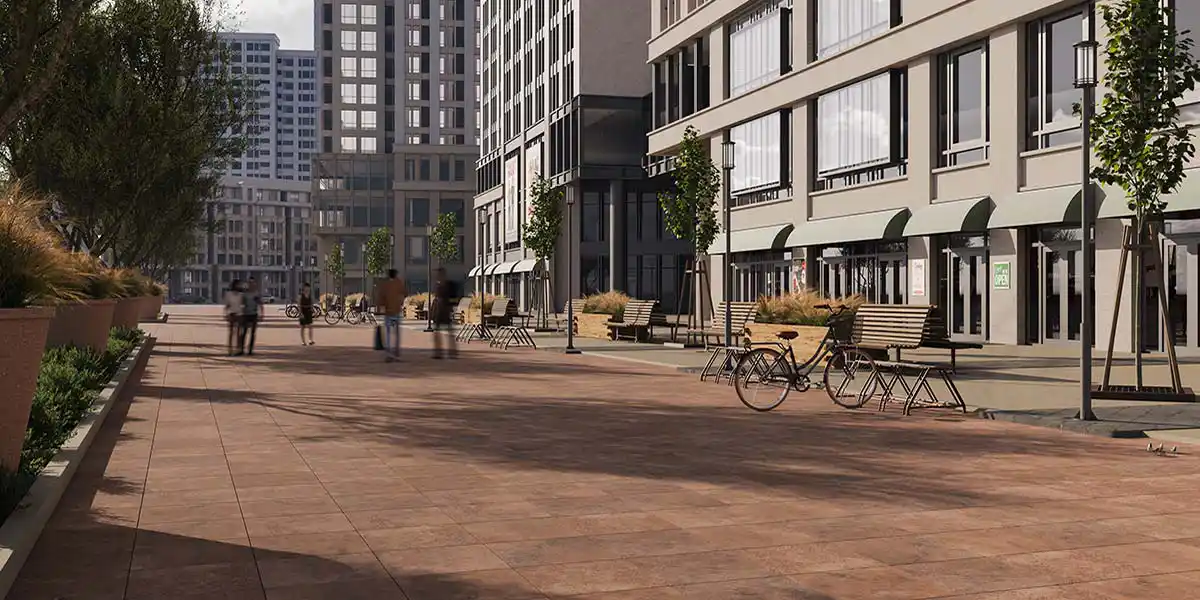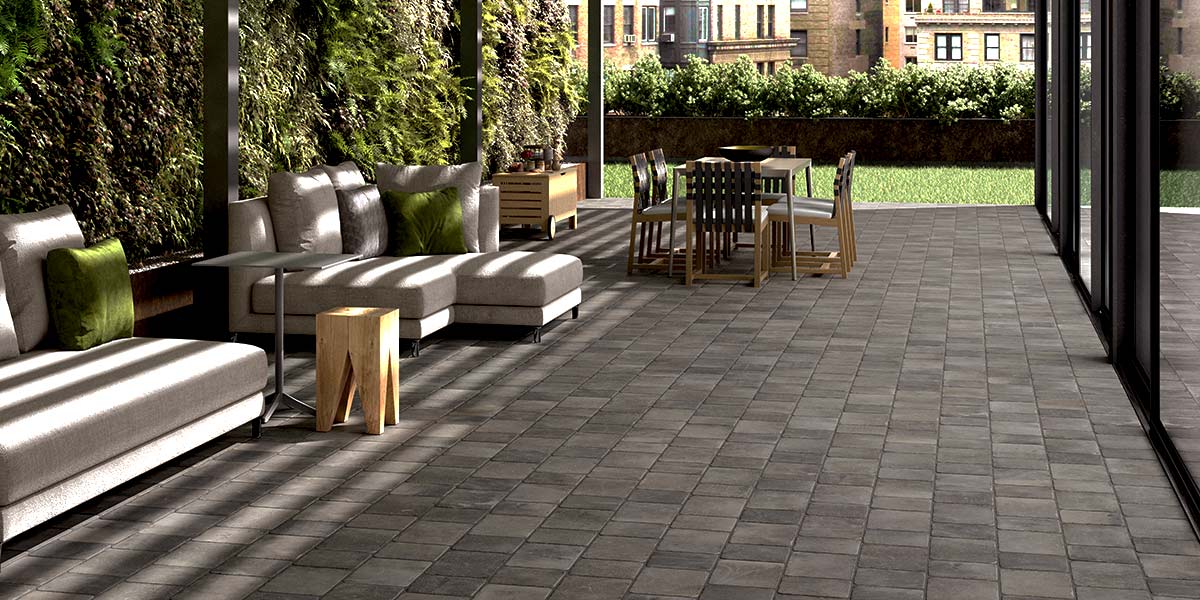
Due to their durability, versatility and sleek appearance, porcelain pavers are an extremely popular choice for outdoor spaces. Proper installation will ensure optimal performance and longevity.
This guide will explore several essential considerations when installing porcelain pavers in residential or commercial outdoor projects, from surface preparation and material selection to proper drainage and maintenance tips. We’ll also cover how porcelain pavers can be installed on different surfaces, including porcelain pavers on sand, gravel, concrete slabs and even grass or soil. Considering these factors will help you to carry out successful projects that exceed all expectations.

Archatrak porcelain paver installation guide
This guide will explore several essential considerations when installing porcelain pavers in residential or commercial outdoor projects, from surface preparation and material selection to proper drainage and maintenance tips.
Download the Guide1. Proper Preparation
Preparing for porcelain paver installation is essential. Assessing the installation site, preparing it accordingly and ensuring you have the proper installation tools can help make the installation process easier.
Tools and Equipment
To install outdoor porcelain pavers, you will need:
- A tile saw designed for wet-cutting porcelain. These typically have diamond blades.
- Edge restraints to prevent pavers from shifting out of place.
- Fine-grained polymeric sand or exterior-grade grout to fill in joints.
- Spacers to ensure the pavers are at least 3/16 of an inch apart to enable drainage.
- Durable gloves and protective glasses for safety.
- Trowels and grout float (if you are installing pavers with mortar over concrete).
Site Assessment and Preparation
Proper preparation of the substrate is key:
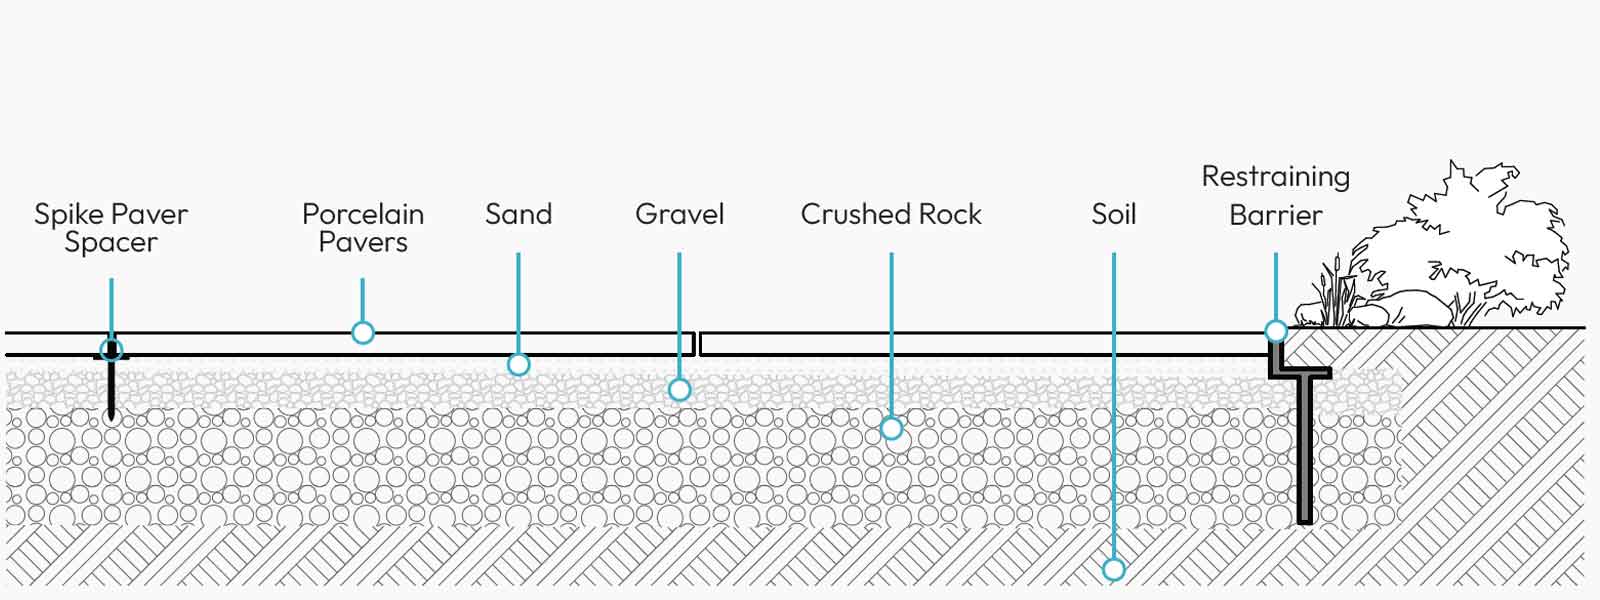
Place a geotextile sheet over the soil before your chosen sub-base layer (e.g., sand or gravel). If you are adding multiple layers, place a sheet between each to prevent the layers from mixing.
Make sure this area is 6 to 8 inches larger or wider than the space to be covered by the pavers. Mark the perimeter of this area with marker posts and string.
To ensure that pavers can drain, placing them on a slight slope of 2 degrees is always advised, sloping towards areas where drainage is preferred like soil beds. However, the slope can vary depending on the site conditions.
Use a shovel to level the area and create the slope. The amount you’ll need to excavate will depend on the weight the pavers will bear and the soil conditions. Once soil is removed, the base should be compacted with a vibro compactor.
2. Installation
Various options are available for the sub-base, including porcelain pavers on sand, porcelain pavers on gravel, and porcelain pavers on concrete slabs. However, you may be able to lay pavers directly onto the grass for certain projects, like ones where the pavers will bear no more than the weight of pedestrians.
Sand or Gravel
If you want to install porcelain pavers over sand or gravel, place a geotextile fabric sheet over the soil and cover it with a sand or gravel layer between ¾ of an inch and 2 inches thick. If you use both, remember to place a separate sheet between the layers before compacting it with a vibro compactor. Use a wooden or metal board to level the surface and ensure it has a slope of 2 degrees, angled away from building foundations. Both porcelain pavers on sand and porcelain pavers on gravel are common methods for residential patios and pathways.
Concrete
If you’ll be laying porcelain pavers on a concrete slab, ensure that the reinforced concrete base meets relevant standards and codes. If the slab is small enough that it doesn’t require expansion joints, a minimum of 3/16-inch grout joint is needed. If the slab is larger and needs expansion joints, the grout joint must be at least ⅜ of an inch. Pavers must not be laid across the joints. Clean the surface of the concrete and spread the mortar evenly over the surface with a trowel.
Pavers on Grass
To install porcelain pavers on grass, remove the grass and excavate the area to the depth of the pavers. Compact the soil, then lay the pavers directly on the soil. Alternatively, you can add a sand or gravel layer. First, excavate to a greater depth, then add a geotextile fabric sheet between the soil and pavers. This approach is sometimes used when considering whether you can lay porcelain pavers on soil, although proper preparation is still essential.
Laying the Pavers
Regardless of whether you are installing porcelain pavers on sand, gravel, concrete, or grass, once the sub-base is compacted, begin laying the pavers. Never use a vibro compactor to compact the pavers, as this may damage them. One important step in porcelain paver installation is to leave 3/16 of an inch spacing between each paver, you can use plastic spacers (ideally with a flat base) to help lay the pavers more evenly.
If you are installing pavers over concrete, you can alternatively use rubber support pads.
Ensuring Installation Quality
You should also use a rubber mallet to gently but firmly tap each paver to ensure it doesn’t rock or shift.
Joint Filling and Sealing
You can use either polymeric sand (e.g., Gator Tile Sand, which is designed specifically for porcelain pavers) or grout to fill and seal joints between pavers.
Fill the joints with fine-grained polymeric sand after cleaning them out, then clear any excess sand from the surface of the pavers. You can then spray a mist of water (from a spray can rather than a hose, which can displace the sand due to high pressure) over the surface to cure the mixture.
Alternatively, you can fill the joints with an exterior-grade grout, and then wash any excess grout from the surface.
Troubleshooting
Common Issues and Solutions
Common issues with outdoor paver installations include:
- Uneven Pavers: To fix this issue, remove the pavers and compact the sub-base layer again.
- Shifting or Loose Pavers: This can be fixed by adding edge restraints and re-compacting the sub-base.
- Weeds Growing Between Pavers: This can often be resolved by filling the joints with polymeric sand between the joints.
- Pooling Water: This is caused by inadequate surface slope. This issue may require the area to be regraded or drainage channels to be added.
Many of these issues can arise when installing porcelain pavers on soil or poorly prepared sand or gravel bases.
3. Maintenance and Care Needs
Proper maintenance keeps pavers looking attractive and prevents issues. Regular sweeping of dirt, leaves and other debris will help keep pavers clean and prevent staining. If any stains do appear, clean them quickly with soap and water, or use more specialized cleaners for tougher stains, such as oil.
Controlling weeds and moss is also important. You can do this with an appropriate weed killer or by using a pressure washer.
View our Maintenance and Care GuideLong-Term Care Tips
To keep porcelain patios in top condition, you can periodically refill the joints with polymeric sand. This will also discourage weed growth, so you won’t need to spend as much time removing weeds.
4. Archatrak: Top-Quality Porcelain Pavers
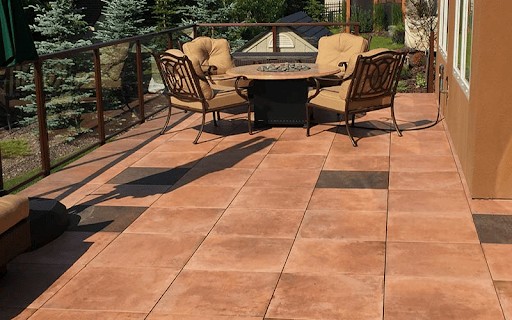
At Archatrak, we provide outdoor porcelain pavers in various sizes, colors and visual effects. From wood-looks to stone-look, and quartz to cobblestone. Their strength, scratch resistance, non-porous properties and versatility make them a great choice for both residential and commercial projects.
If you plan on installing Archatrak porcelain pavers on balconies and rooftops, somewhat different installation techniques apply. For these projects, we supply adjustable height paver supports. These are placed under the pavers to achieve perfectly level surfaces, irrespective of the underlying slope of the roof or balcony. For more information on our porcelain pavers, check out our extensive product range.
If you have any other questions regarding installation best practices, our team is ready to help >> Contact us today!